My Acid Rain World Jeep project is complete! This was probably one of the most involved/details projects I've done. It took several (4-5) days, but I'm very happy with the results. I started with a Jeep toy by Bruder. I chose this because Kit Lau (the creator of Acid Rain World) customized his own version and I was inspired by him.
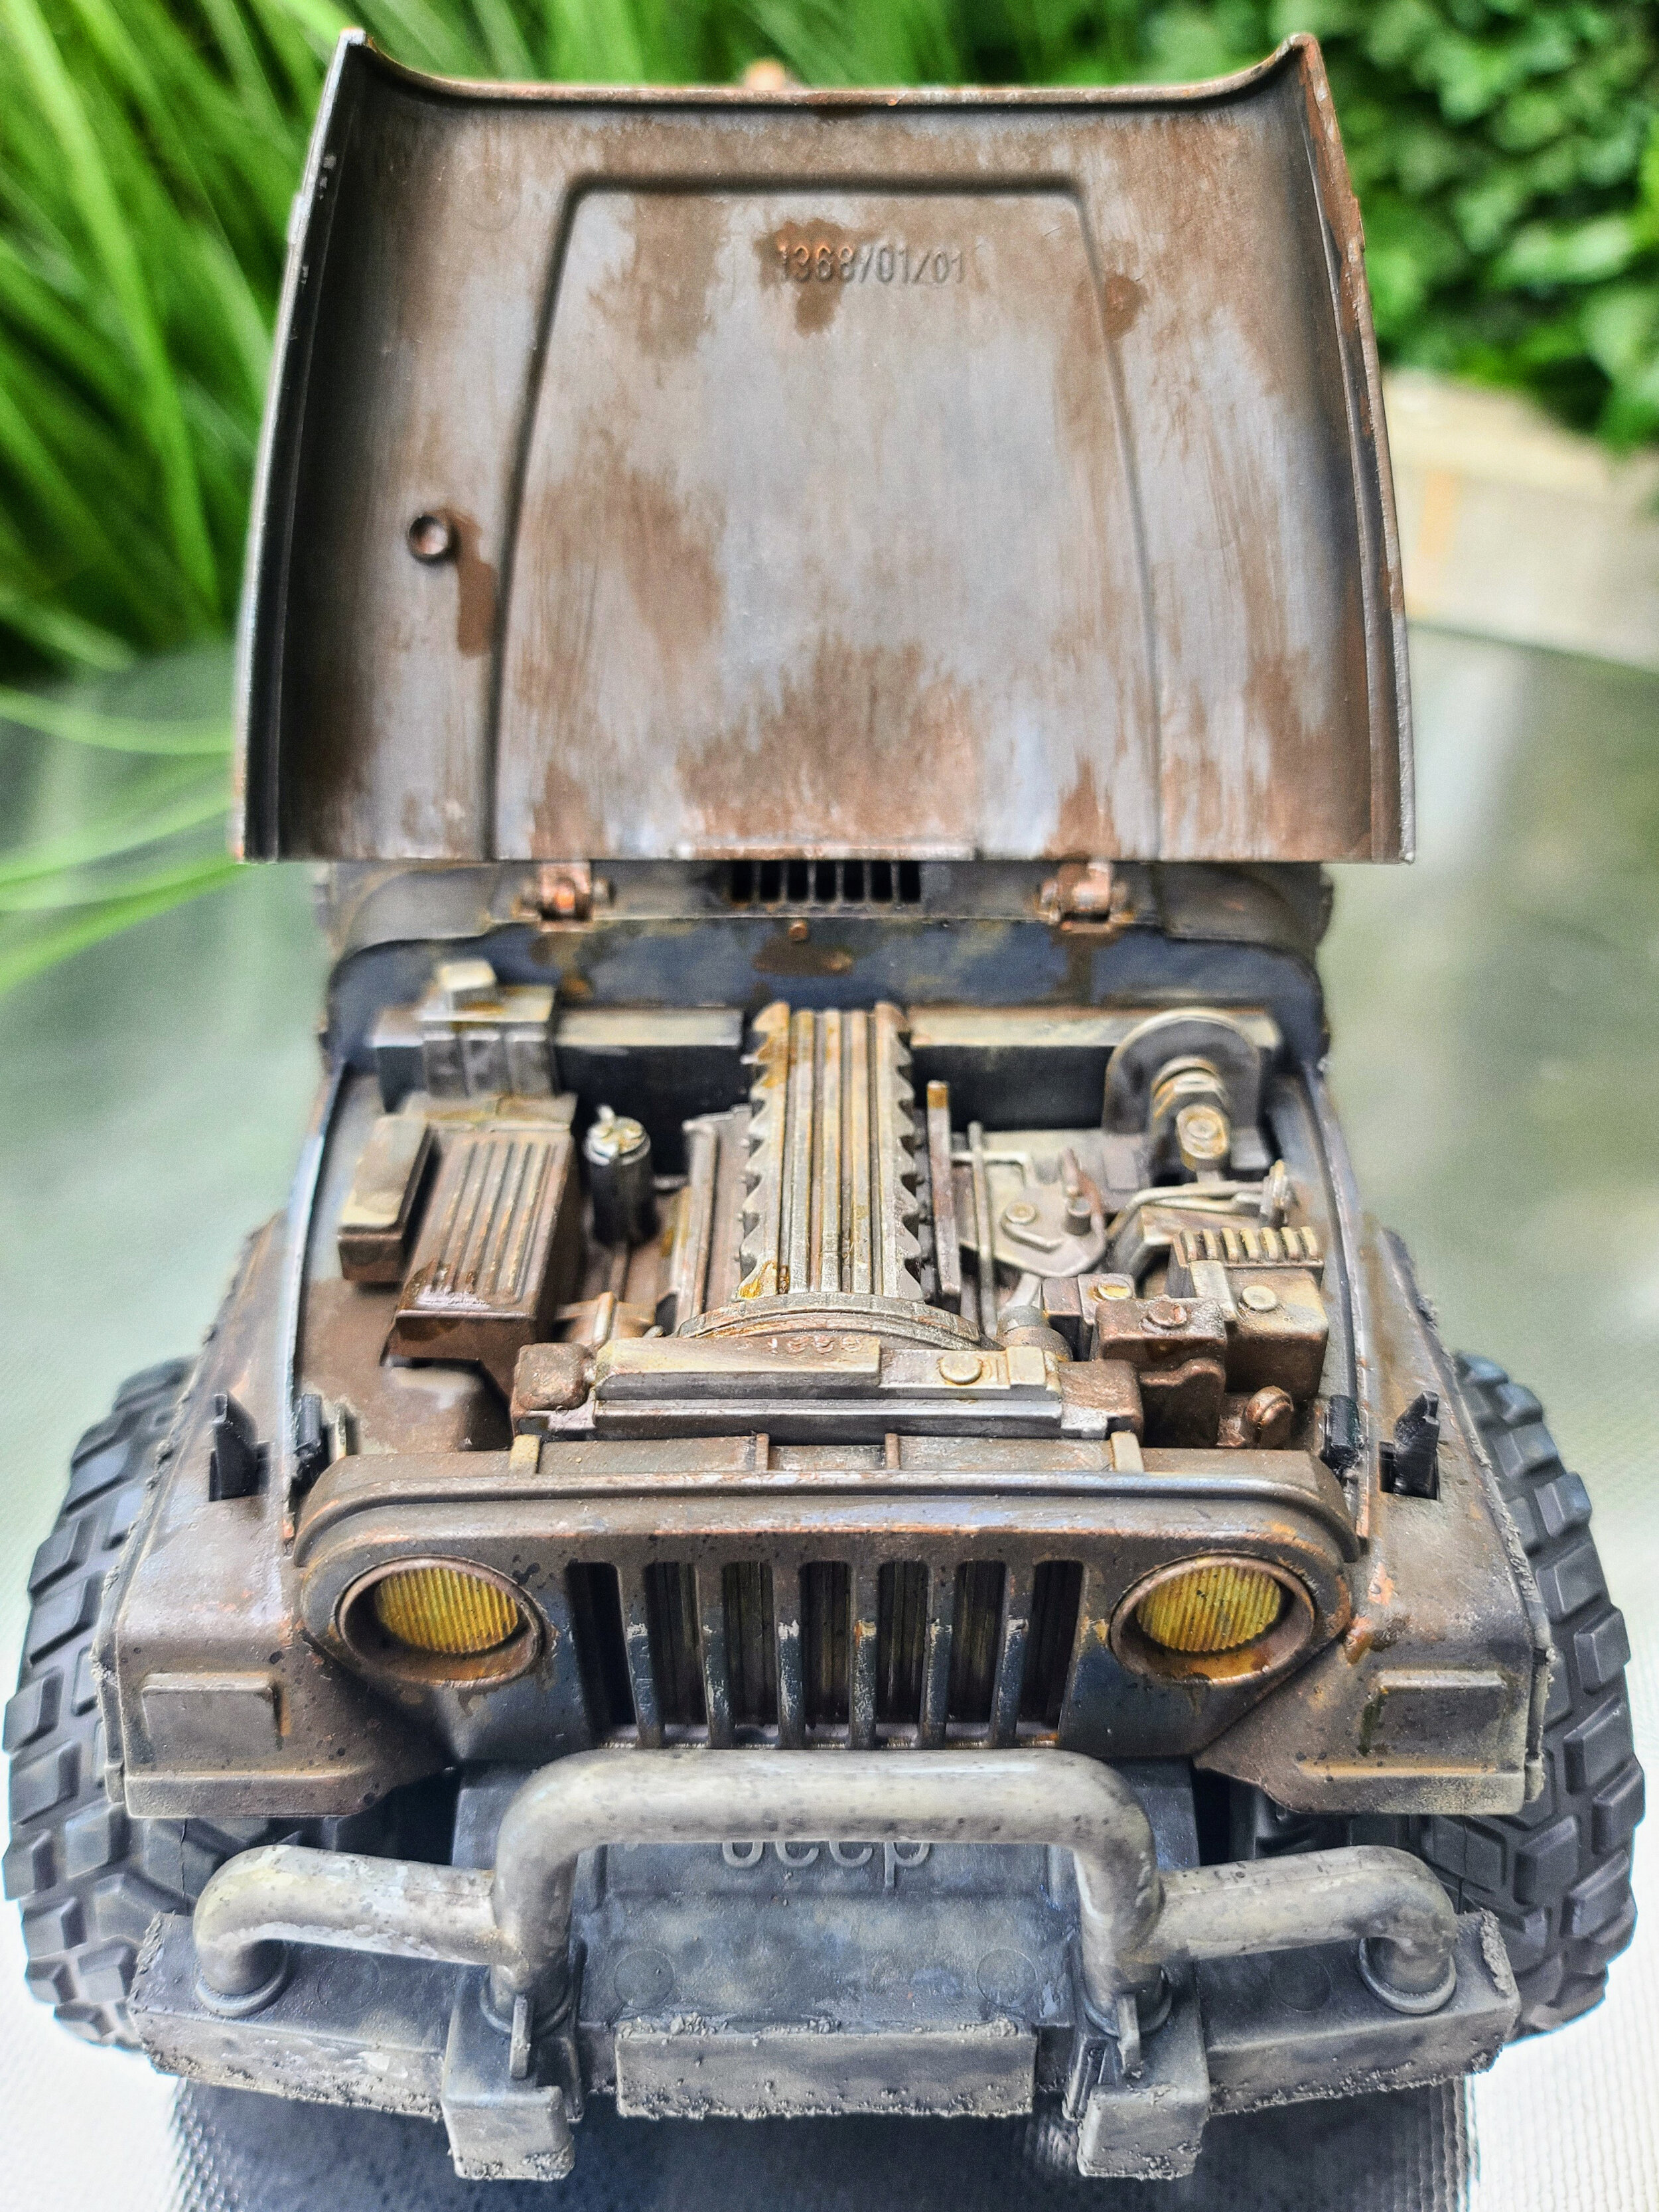
The Jeep came in unpainted orange plastic, so that made it easy to wet-sand, wash and then prime with Tamiya grey primer spray. After that, I taped off the stripes on the body, hood and doors to prepare for painting. I then did a full dark-grey base, and metallic blue stripe lines (both using Vallejo paints).
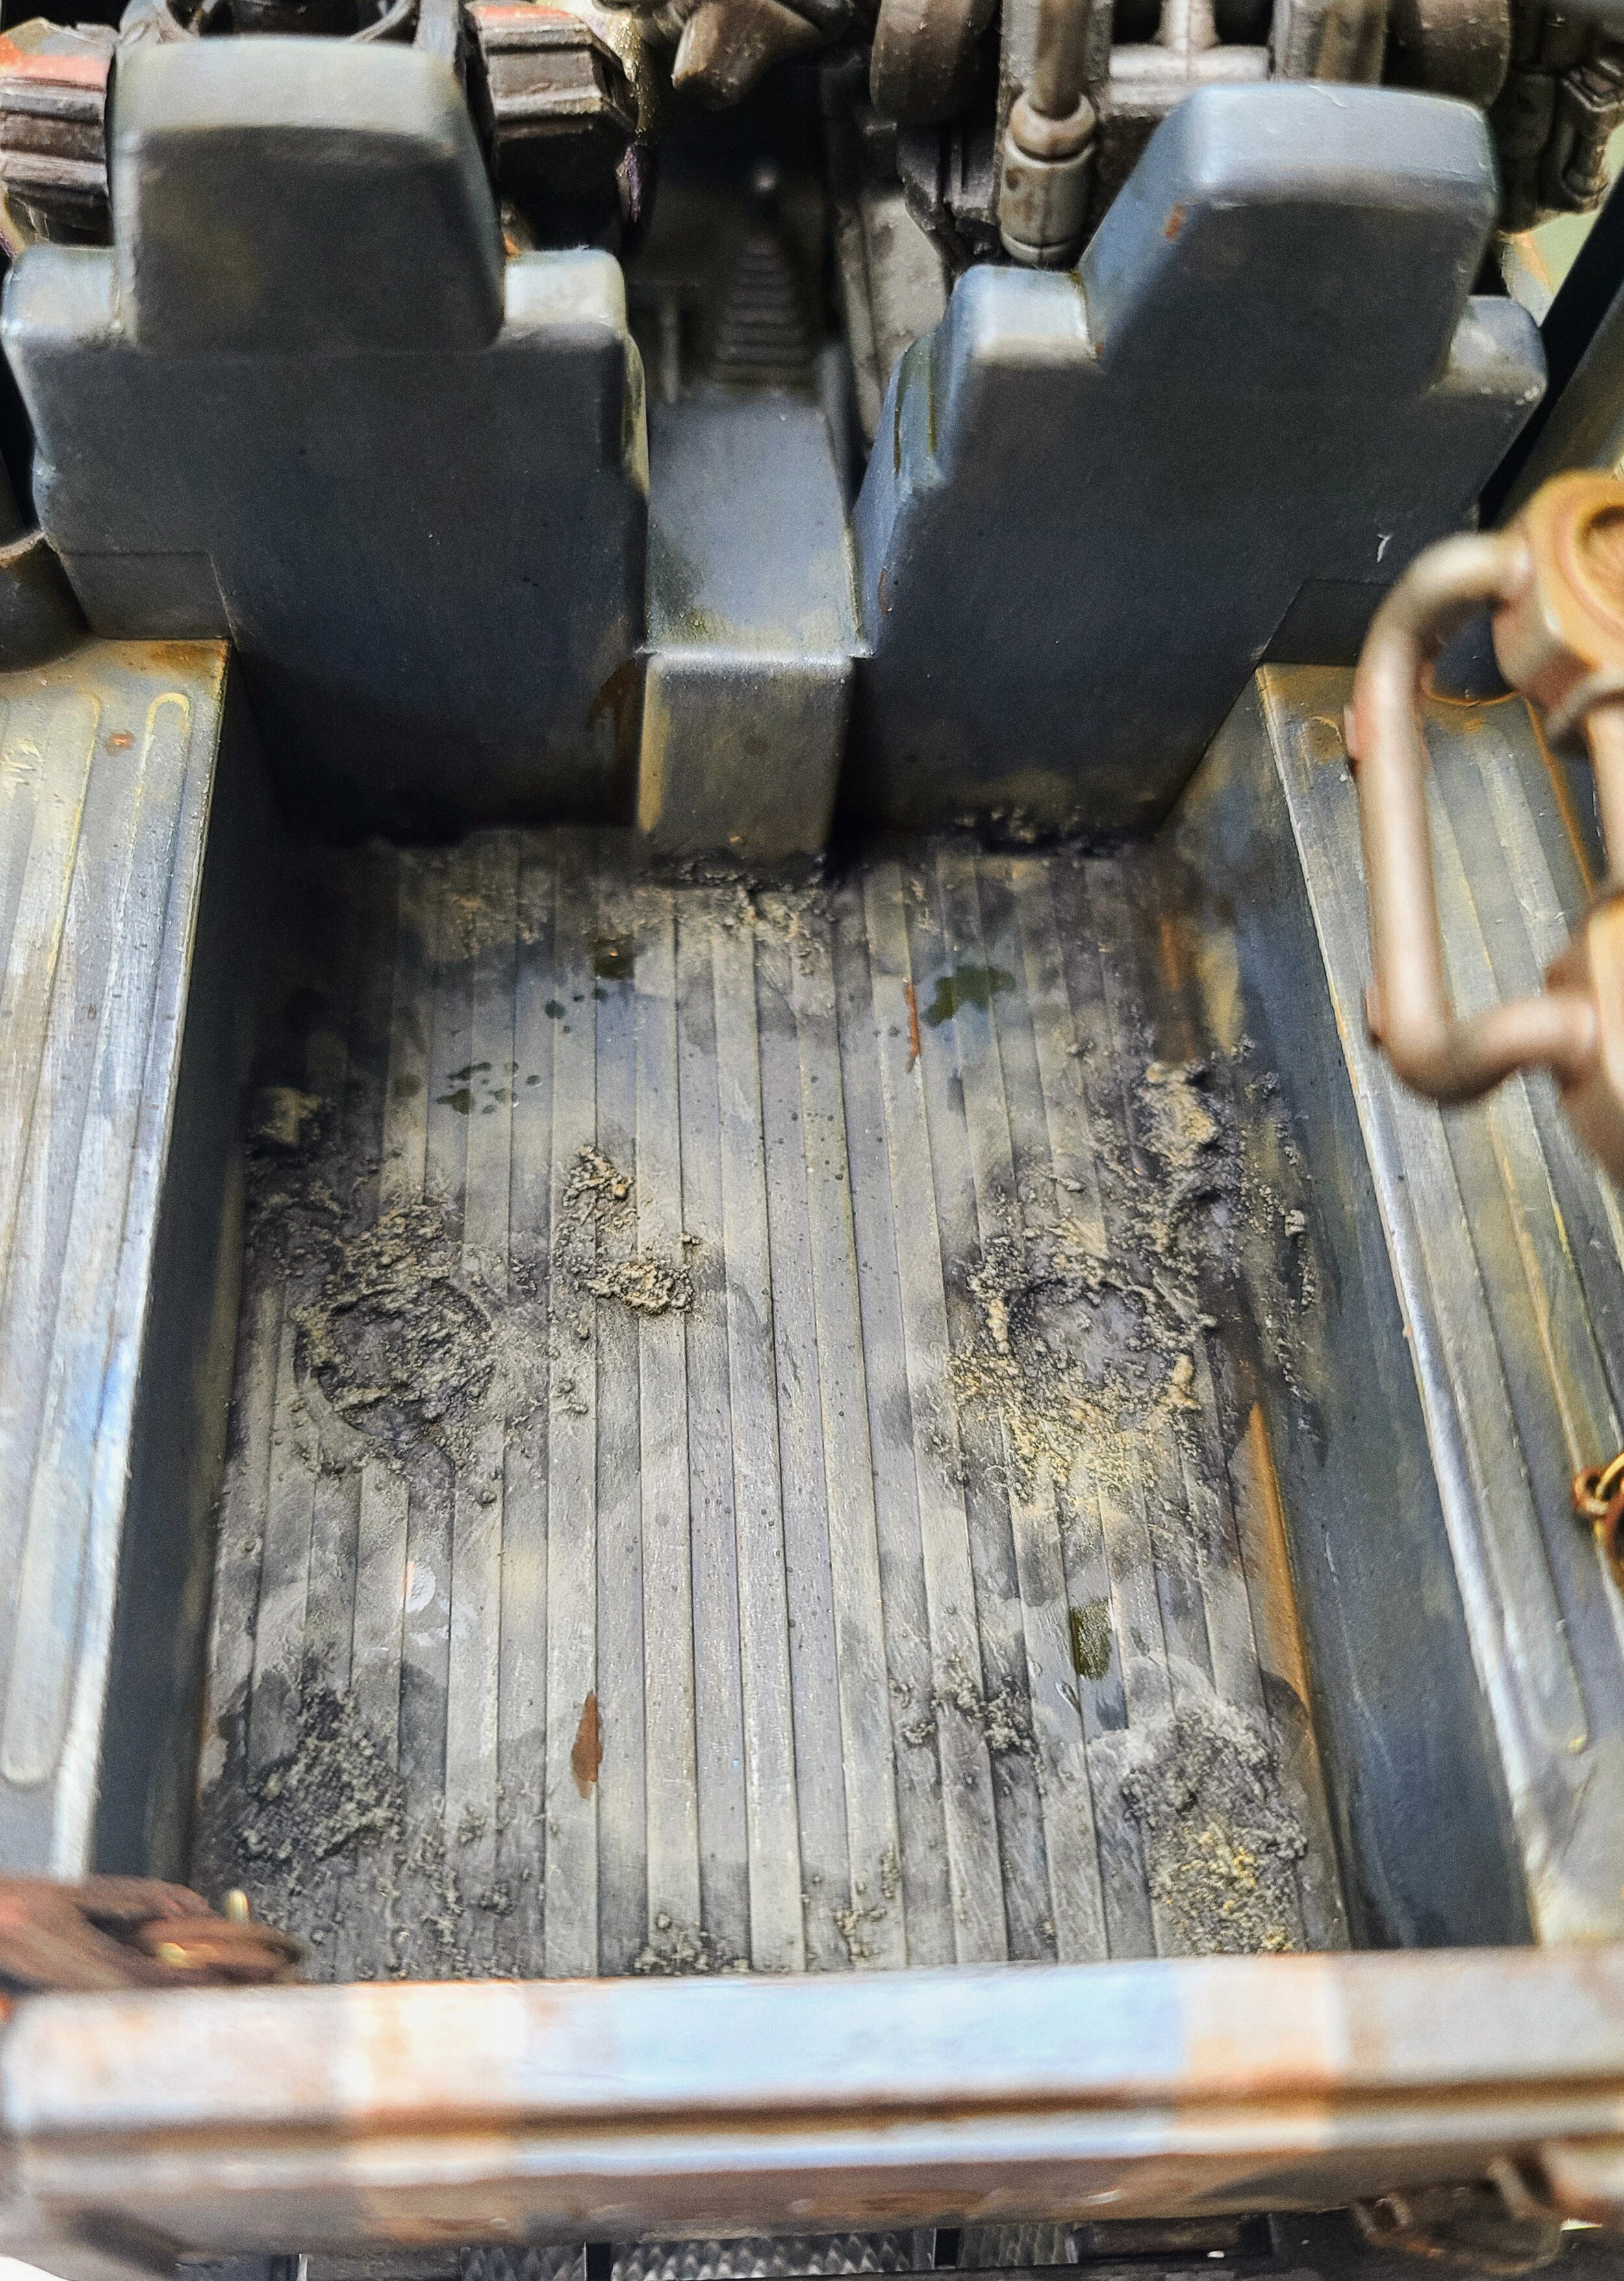
After the base coat, I began the extensive process of painting all the pieces separately with general weathering passes. This consisted of many different paints from Citadel, Vallejo and Tamiya, over many different coats and layers. Before reassembling, I super-glued magnets on the inside at a few different spots to make mounting points for accessories (you can see a drone magnetized to a strap on the back and on the side of the Jeep in the final gallery).
After reassembling, I started a final pass of weathering and detail painting which lasted a couple of days itself. This was done to achieve visual consistency for the assembled Jeep. Lots and lots of patience and detailed painting and weathering happened at this stage. This included a lot of different techniques and types of paints and pigments to accomplish.
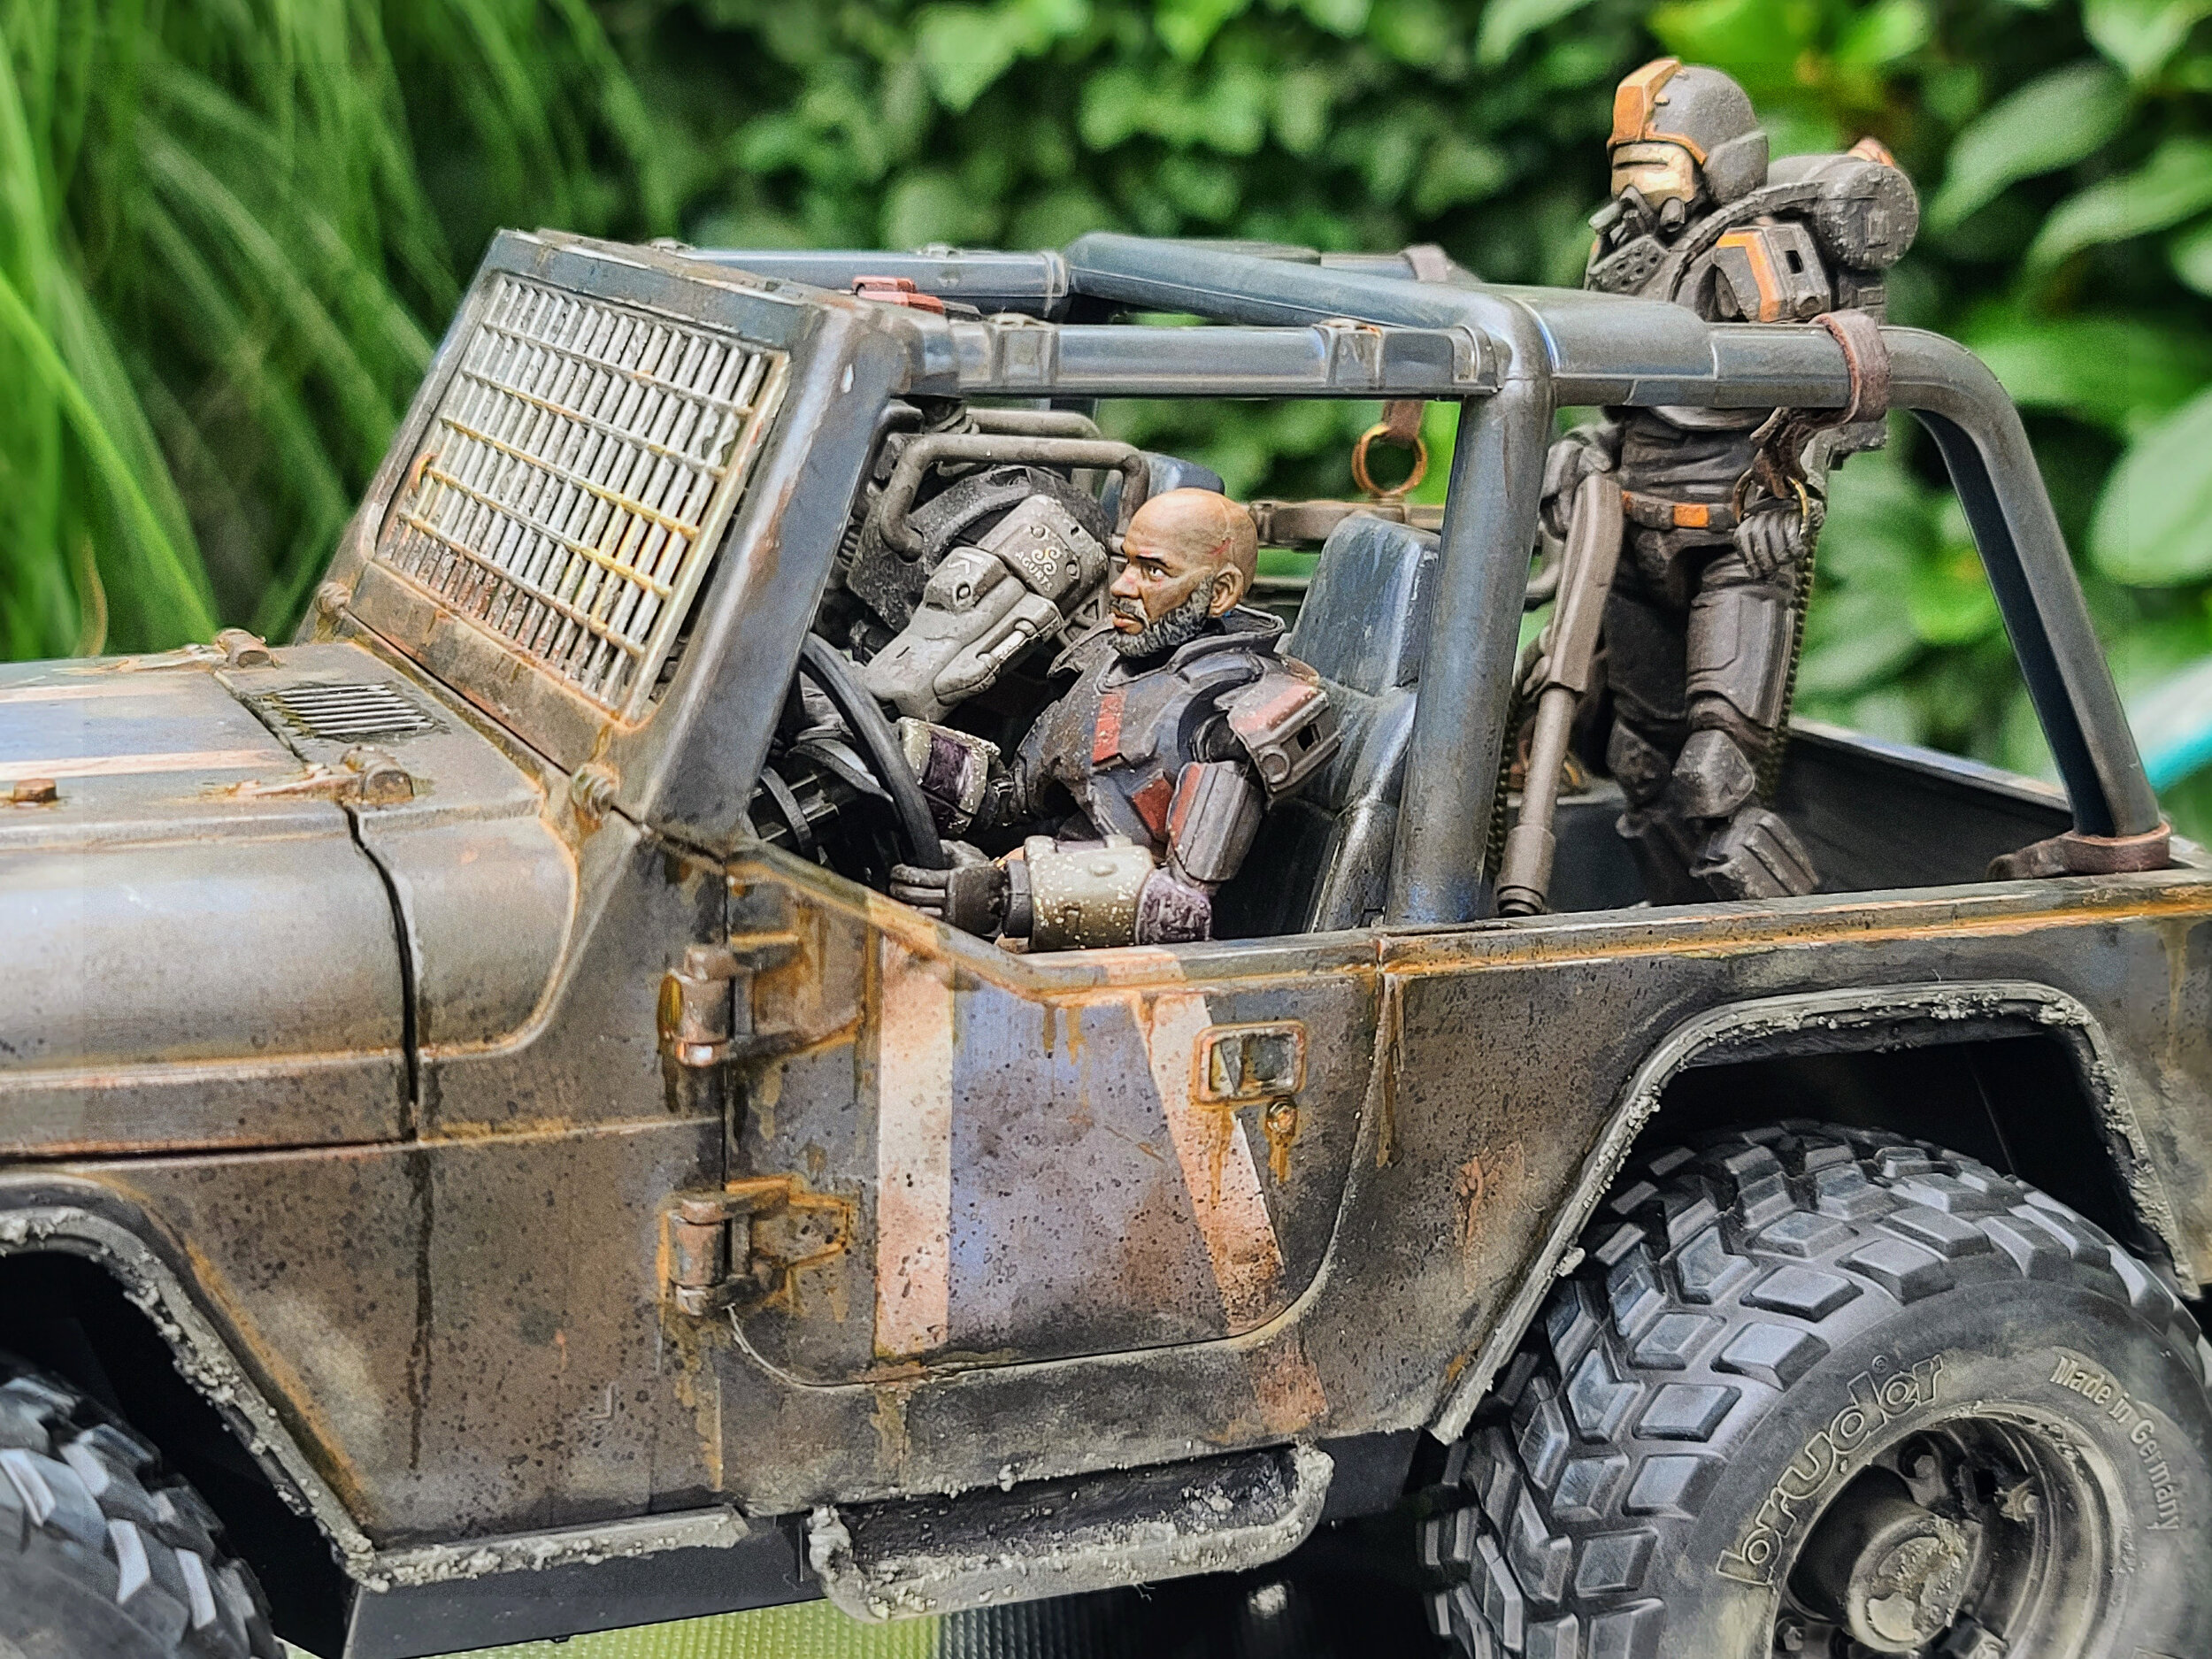
The final steps were fashioning the leather and metal hand & mounting straps. These were made with craft faux-leather straps, jump-rings and clasps for jewelry-making put together with superglue.
Finally, one more detailing/weathering pass was done to make everything feel complete.
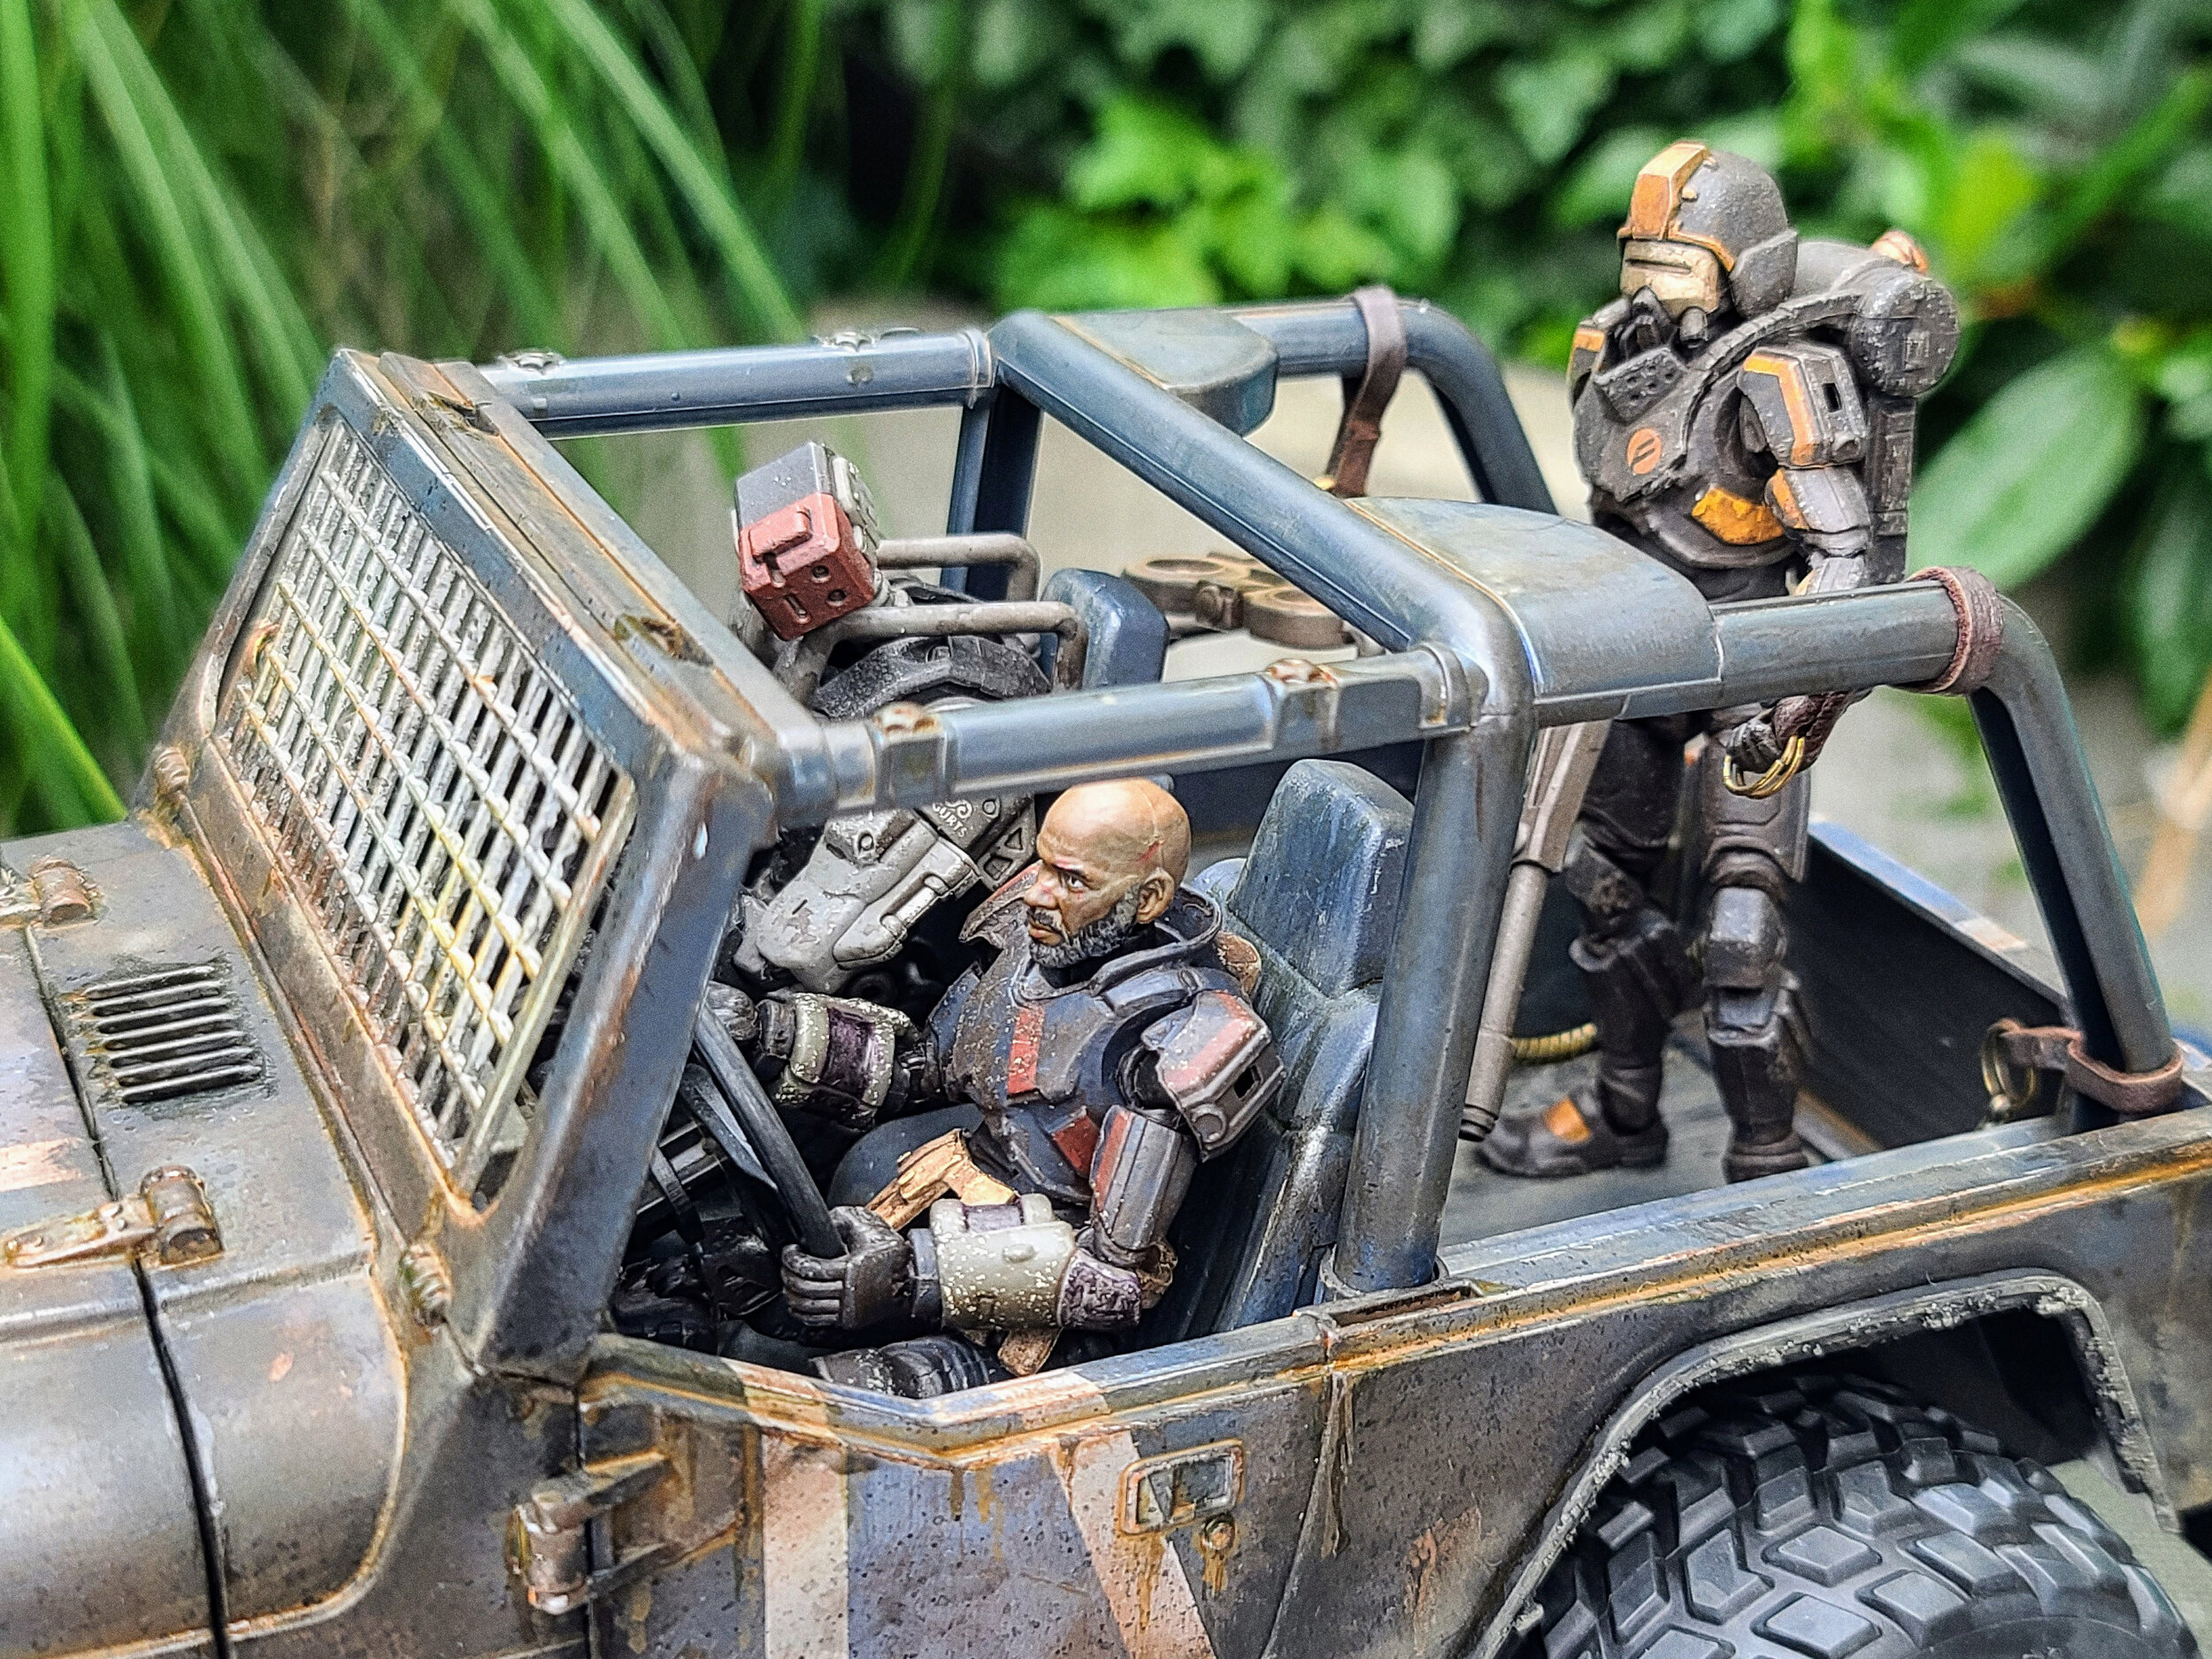
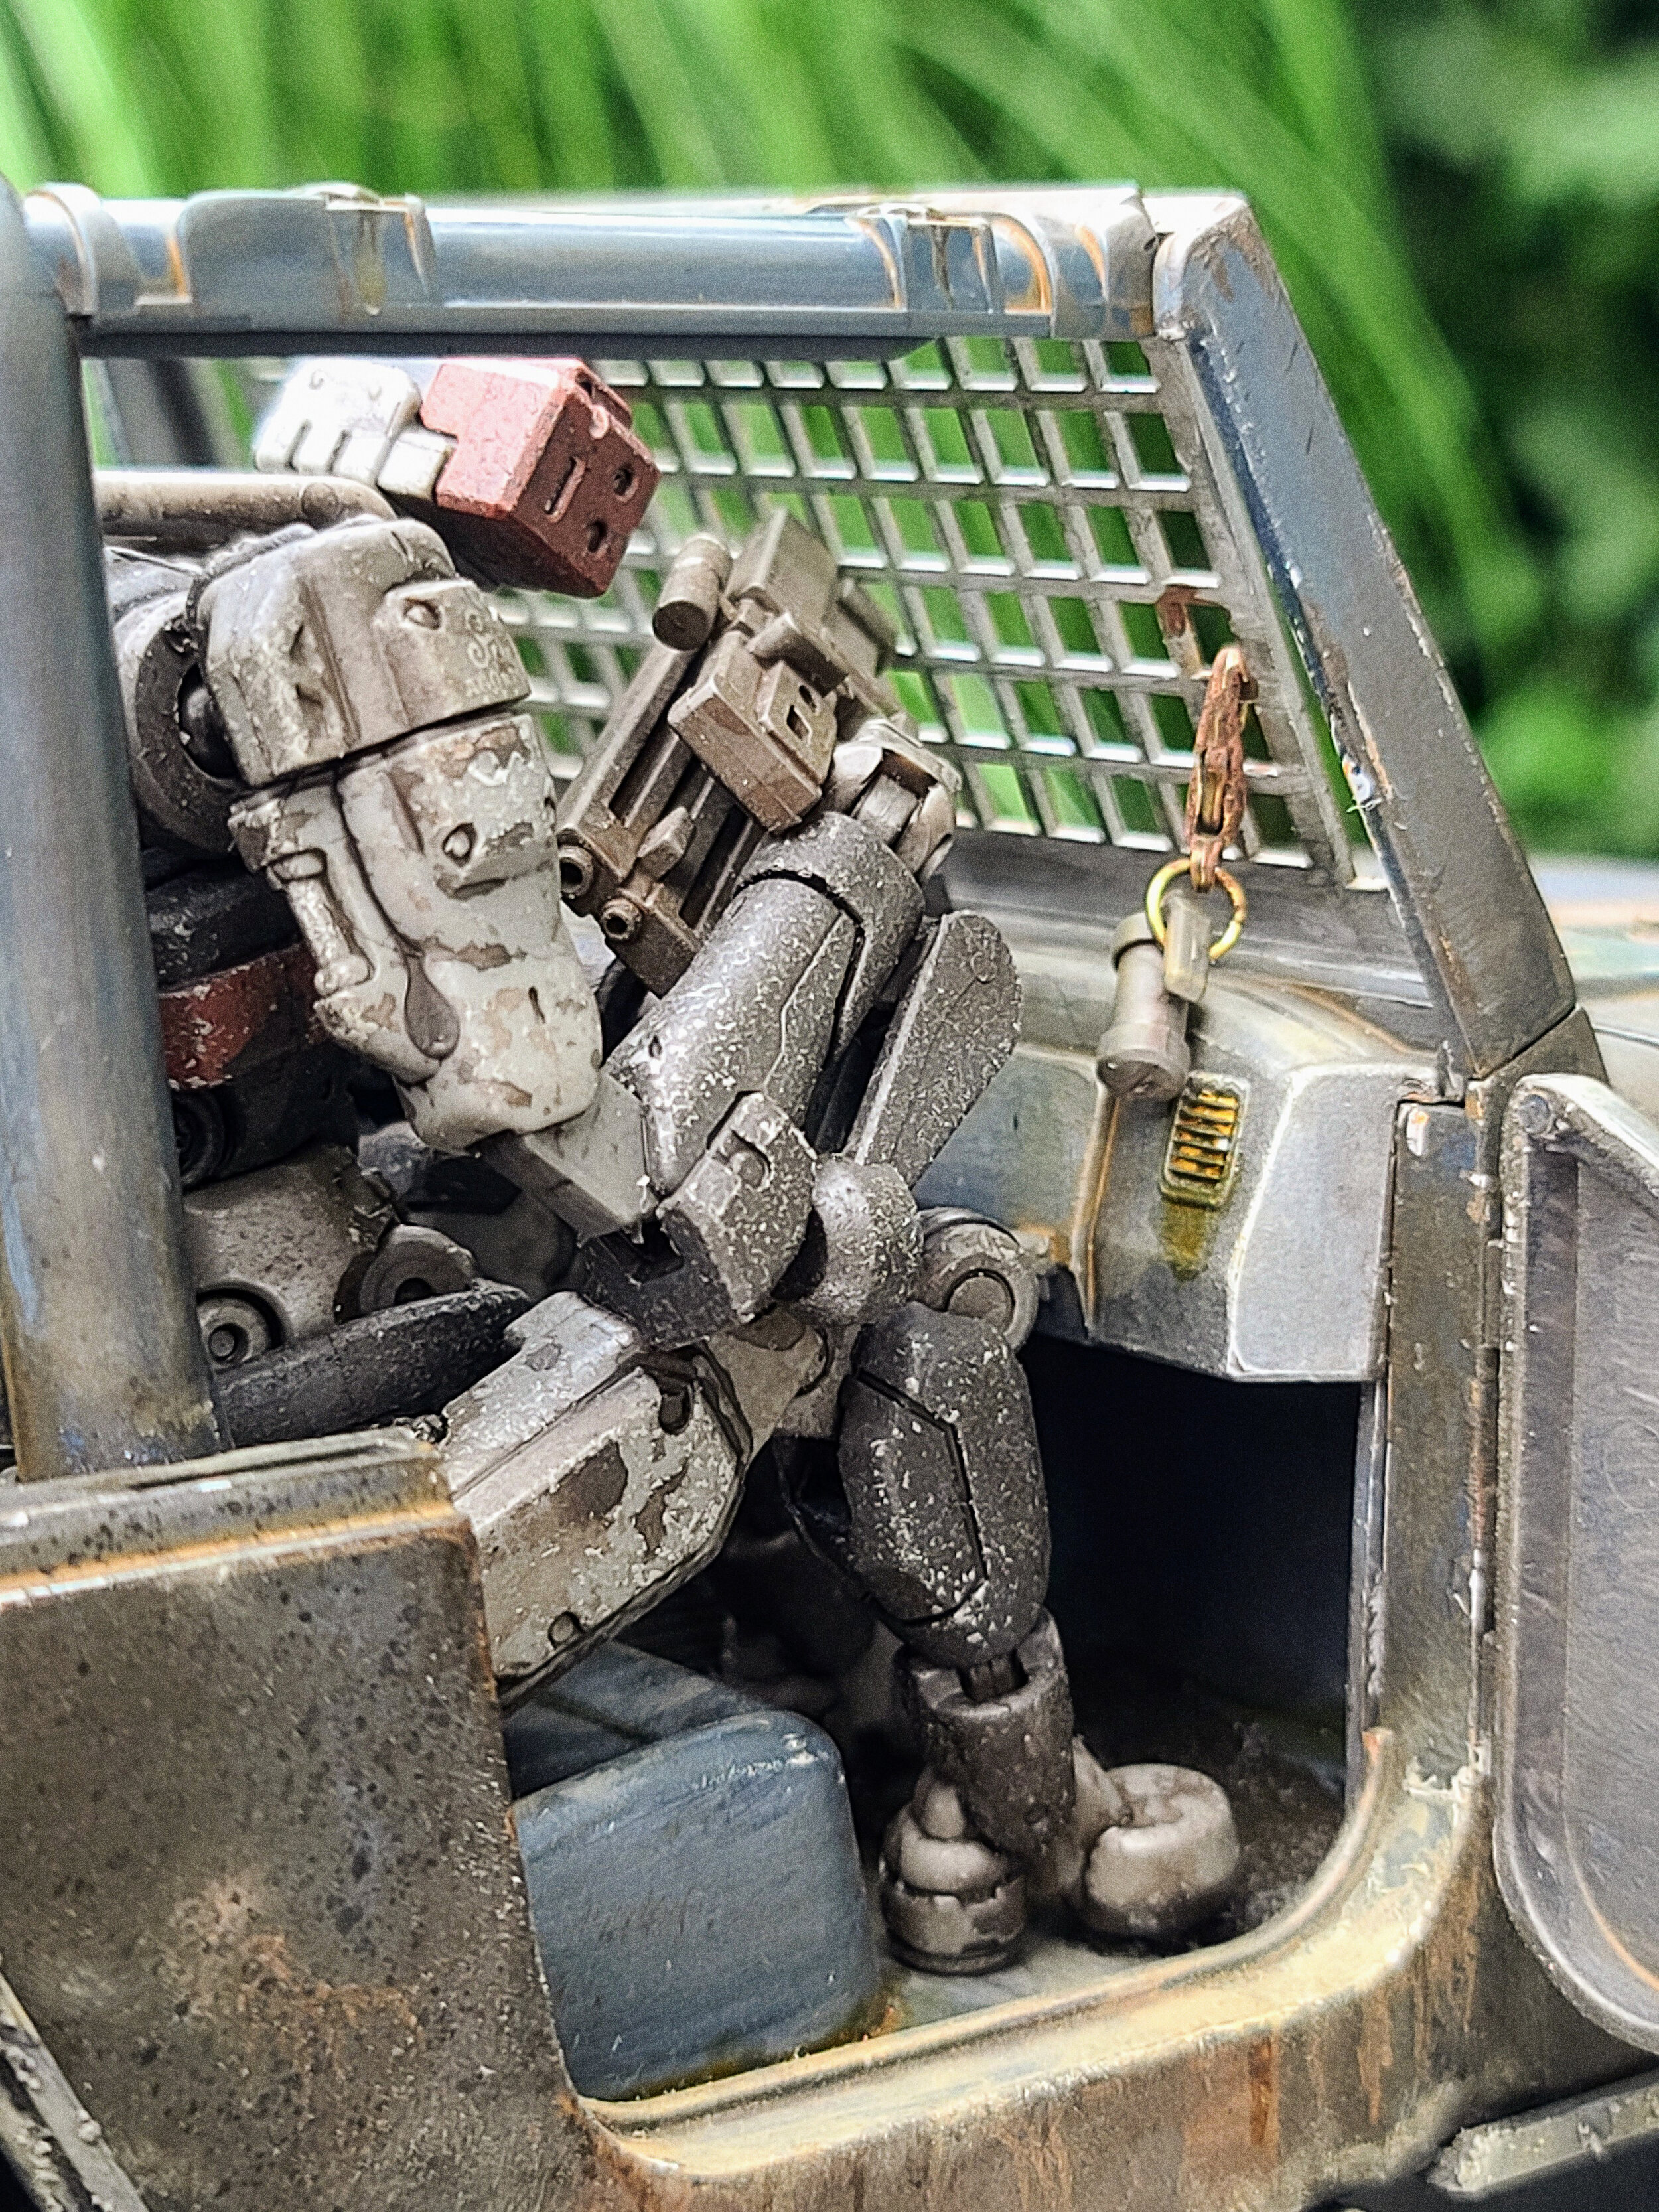
There's TONS of small details all around the piece (including a dangling grenade in the front windscreen!), and I'm honestly super proud of it. I'll probably do one or two small additional things to it eventually, but it's basically “done”. Enjoy the pics and let me know if you have any questions or comments on Twitter!